
Last March, my backyard garden looked like a plant graveyard. My prize-winning tomatoes were turning yellow. My hydrangeas refused to bloom. I felt like a failure as a gardener. I spent a lot of money on fancy plant food. Nothing seemed to work. I realized I was just guessing. I did not know what my soil actually needed. That is when I bought the HSLGOVE Soil Test Kit.
I wanted something simple. I did not want to mail dirt to a lab. I did not want to wait weeks for a report. This little tool changed everything for me. It taught me that my soil was way too wet. I was drowning my plants with kindness. Here is my honest take on using this kit for a full season.

<<Get Amazon For This Product>>
Why I Chose the HSLGOVE Soil Test Kit
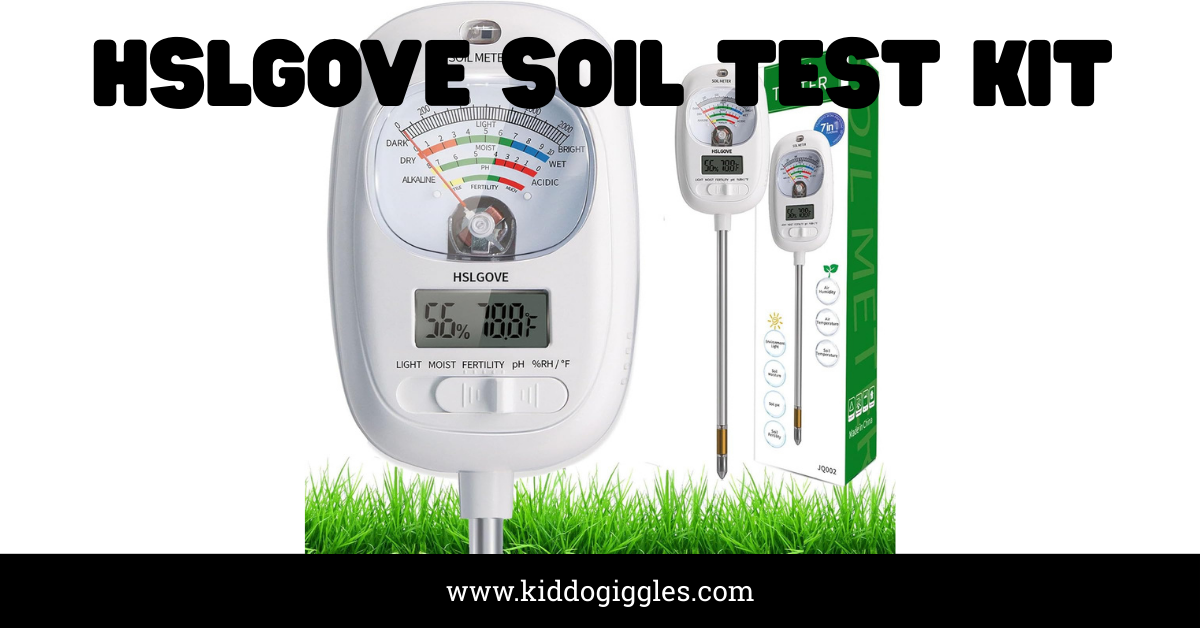
I am not a scientist. I just want healthy greens. When I looked for a tool, I saw many options. Most had two long metal legs. People said those break easily. The HSLGOVE model caught my eye because it has one single probe. It looked tough and sleek.
I also liked that it does not use batteries. I always forget to charge my tools. With this, I just pull it out of the shed and go. It uses a tiny bit of energy from the soil to move the needle. That is pretty cool tech for a cheap tool. It felt like a solid choice for my daily garden rounds.
Features at a Glance
| Feature | My Experience | Benefit |
| Probe Design | Single sturdy needle | Easy to push in |
| Power Source | No batteries needed | Always ready to use |
| Functions | 2-in-1 (pH and Moisture) | Checks the essentials |
| Display | Large color-coded dial | Easy to read at a glance |
Setting Up the HSLGOVE Soil Test Kit
Using this tool is very easy. When it arrived, I took it straight to my rose bushes. I noticed the probe had a little cap on it. I took that off first. The instructions say to wipe the metal tip. I used a clean rag from my garage. This removes any oil or dust from the factory.
I found a spot near the base of the plant. I pushed the probe about four inches deep. You have to be firm but gentle. If you hit a rock, stop right away. You do not want to bend the metal. Once it is in, you just wait. It takes about a minute for the needle to stop moving.
Getting the Best Readings
I learned a few tricks after a week. You cannot just dip it in and pull it out. The sensor needs time to “feel” the dirt. I usually count to sixty. I also move it to three different spots around the same plant. This gives me a better average.
Sometimes the needle did not move at all. I thought it was broken. Then I realized my soil was just very dry. I poured a little water on the spot. The needle jumped up right away. It showed me exactly how much water was sinking in. It was a real eye-opener for my dry clay soil.
Tracking My Soil pH Levels
The pH scale was the biggest mystery to me. I knew plants liked “acidic” or “alkaline” dirt. I just didn’t know what mine was. The HSLGOVE Soil Test Kit has a clear pH scale. It goes from 3.5 to 8. My garden was sitting at a 7.5. That is a bit too high for many of my plants.
This explained why my blueberries were struggling. They love acid. My soil was too basic for them. I used the kit to test different parts of the yard. My front yard was different from my back yard. This helped me decide where to put new flowers. I stopped fighting the dirt and started working with it.
Common pH Readings I Found
- Vegetable Bed: 6.5 (Perfect for my peppers)
- Flower Pot: 7.0 (Neutral and safe)
- Under the Pine Tree: 5.5 (Nice and acidic)
Mastering Moisture with the HSLGOVE Soil Test Kit
The moisture meter is the part I use most. I used to stick my finger in the dirt. That only tells you about the top inch. Roots live much deeper than that. The HSLGOVE Soil Test Kit goes deep. It tells you if the bottom of the pot is a swamp.
I found out my big indoor palm was soaking wet at the bottom. The top felt dry, so I kept watering it. The meter showed a “10” which is the highest wet level. I stopped watering for two weeks. The plant started growing new leaves. This tool saved me from killing my favorite indoor tree.
Moisture Levels Table
| Color Zone | Reading | What It Means |
| Red | 1 to 3 | Bone dry, needs water now |
| Green | 4 to 7 | Just right for most plants |
| Blue | 8 to 10 | Very wet, let it dry out |
Durability and Build Quality
I have dropped this tool on my concrete patio twice. It survived without a scratch. The plastic housing feels thick and strong. The probe is made of stainless steel. It does not rust, even if I leave it in a damp shed. I am impressed by how it holds up to rough use.
The dial has a clear plastic cover. It stays clear even in the sun. Some cheap tools get foggy or yellow over time. This one still looks new after three months. I trust it to last for several seasons. It feels like a real tool, not a plastic toy.
Things to Avoid
I have to be honest about one thing. You cannot use this to test a glass of water. It only works in soil. If you put it in water, the needle stays at zero. I tried it just to see. Also, do not leave it in the dirt for hours. Take your reading and pull it out. If you leave it in, the metal can corrode over time.
Who Should Buy the HSLGOVE Soil Test Kit?
If you have a small garden or a few pots, this is perfect. It is great for beginners who feel lost. It takes the guesswork out of watering. You don’t need a degree in botany to use it. It is also a fun way to get kids into gardening. My nephew loves watching the needle move.
It might be too simple for a professional farmer. They might want digital logs and data. But for a hobbyist like me, it is just right. It fits in my back pocket. It is light and easy to carry. It gives me the facts I need in seconds.
My Final Verdict on the HSLGOVE Soil Test Kit
This kit is worth every penny. It costs less than one bag of fancy fertilizer. Yet, it saves me money by preventing plant deaths. My garden is greener than it has ever been. I feel more confident when I go outside to work.
I wish the probe was a tiny bit longer for my huge floor pots. That is my only real complaint. Other than that, it is a solid five-star tool. It is reliable and simple. If you want to stop guessing and start growing, get one. Your plants will thank you for it.
The Pros and Cons I Noticed
- Pros: Very easy to use. No batteries to buy. Sturdy single probe. Fast results.
- Cons: Not for water testing. Probe could be longer for deep pots.
Frequently Asked Questions
How do I clean the HSLGOVE Soil Test Kit probe?
Wipe the probe with a dry cloth or paper towel after every use. Use a bit of fine sandpaper if the metal looks dull or dirty.
Does the HSLGOVE Soil Test Kit need batteries?
No, this tool uses no batteries or electricity. It gets a tiny signal from the soil to move the needle on the dial.
Can I use this kit to test my lawn?
Yes, it works great for grass. Push the probe into the turf to see if your lawn needs more water or lime for pH.
Why is the needle not moving in my dry soil?
The sensor needs moisture to send a signal. If the dirt is very dry, the needle stays at the bottom. Add a little water to test it.
Is the HSLGOVE Soil Test Kit accurate for pH?
It is very accurate for a home tool. It gives a close range so you can adjust your soil. It is perfect for home garden use.